Spores, Mist and a Very Patient Kitchen: My First Oyster Mushroom Harvest
The kit that looked like a coffee bag
I bought my first oyster mushroom kit for £12 from a small UK grower, mostly because it promised dinner from a cupboard and partly because I liked the idea of a kitchen project that did not involve another jar of sourdough starter. It arrived as a squat block of substrate wrapped in plastic, speckled with white mycelium and looking vaguely like a very serious coffee bag. The instructions were three sentences long. That should have been my first clue that this would be a learn-as-you-go sort of November.
I live in a one-bed flat with a galley kitchen, a bathroom with no window and an airing cupboard that I have always treated as a useful extra shelf. The kit went straight in there. Within a day, I had a thermometer in the cupboard and a new understanding of the phrase “warm and humid”. The airing cupboard was warm, yes, but it was also dry and, at times, closer to 26C than the gentle 18–20C the mushrooms actually wanted. Oyster mushrooms are not houseplants. They do not want to be cosseted next to a hot water tank.
The airing cupboard is a trap
Every guide tells you to find a warm, dark, humid spot. In a London flat, that advice can lead you straight to the airing cupboard, which is often the warmest and driest place in the building. Oyster mushrooms fruit best somewhere around 15–20C, with high humidity and a bit of fresh air. A hot cupboard encourages leggy, pale stems and gives mould a head start.
After three days of watching condensation come and go, I moved the kit to the top of the kitchen cupboard, away from the radiator and the oven. It sat inside a clear plastic box with the lid left slightly ajar. That gave it a humid little microclimate without turning it into a swamp. If you have a cool hallway shelf, a bathroom shelf that is not directly over the bath, or a spare corner of a kitchen worktop out of direct sun, those are all better bets than a cupboard that doubles as a boiler room.
Misting is a rhythm, not a drenching
The kit needed a fine mist twice a day, morning and evening. I used a clean spray bottle and aimed at the inside of the plastic bag or box rather than directly at the mushrooms. The goal is a hazy, humid atmosphere, not a puddle. If water pools at the base, pour it off. If the substrate looks sodden, stop misting for a day and let the air move around it.
London tap water is fine for this, though I sometimes left a jug out overnight so it was not stone cold. The first pins appeared after about ten days. They looked like tiny grey pins, then tiny grey mushrooms, then a proper cluster that seemed to double in size while I was at work. By the time the caps began to curl down at the edges, I harvested the whole bunch by twisting it gently from the block. It weighed just over 200g, which felt like a small miracle for £12 and a bit of misting.
Sourcing spawn without the guesswork
I looked for a kit that used UK-grown spawn, because I wanted to know what I was bringing into my kitchen and because shorter supply chains tend to mean fresher blocks. The label should tell you where the spawn was grown and give clear fruiting instructions. Avoid kits with green patches, a sour smell or a slimy bag. A £12 kit from a British grower is a reasonable starting point; a mysterious bargain bucket from a car boot is not.
If you buy at a market, ask how recently the block was made up and how it has been stored. Oyster mushroom kits are living things, not tins of beans. If the seller cannot tell you, walk on. I ordered online in the end, but I have since seen mushroom kits at London farmers’ markets and they can be excellent if they have been kept cool and clean.
The contamination rules are boring but necessary
Wash your hands before you touch the kit. Clean the scissors or knife you use to open the bag. Do not rummage around in the substrate to see what is happening. Keep the kit away from compost, soil, houseplants and anything that has been sitting in the fridge too long. Oyster mushrooms are fairly vigorous, but they are not invincible.
If you see green mould, black spots or a sour smell, bin the block. Do not try to cut around it and hope for the best. The same goes for a kit that starts oozing. It is disappointing, but it is better than a kitchen full of spores and a stomach ache. Fresh air helps, but draughts and direct heat do not. A bathroom that steams up after a shower can work well if the kit is not getting soaked.
The first flush supper
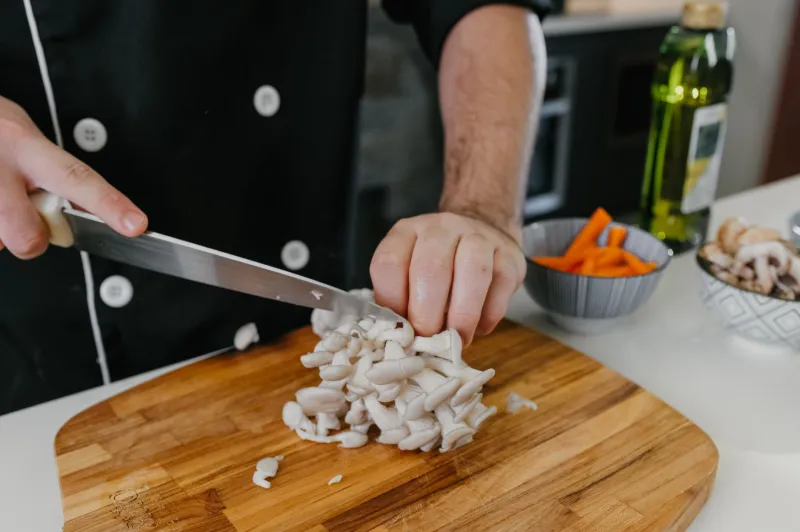
Once the cluster was harvested, I tore the mushrooms into thick strips and cooked them hot and fast in a wide pan with butter. Oyster mushrooms release a lot of water, so give them space and let them colour properly. I added two sliced garlic cloves, a few thyme leaves, a splash of soy sauce and a squeeze of lemon at the end. Pile that onto toasted sourdough and you have a weekday supper that feels far more generous than it costs.
The second flush is already pinning, which means the kitchen cupboard has earned its place. The airing cupboard is back to being an airing cupboard. Some kitchen projects need fancy equipment. This one needed a spray bottle, a thermometer and the patience to stop checking the block every ten minutes. If you are thinking of trying it, start with one kit, keep it cool, mist lightly and eat the first harvest quickly. The mushrooms will not wait, and neither will dinner.